May 29, 2019
Problem:
I have DELL D630 with Xentry 09/2015 and MB Star C3 multiplexer. I have connected many cars (W202, W203, W210, W211, W245, etc) and there is no problem with connection – everything is working like a charm. Some days ago, I have bought W204 C280 from 2007. After I choose model, engine and transmission, and I go to diagnostic I see this:
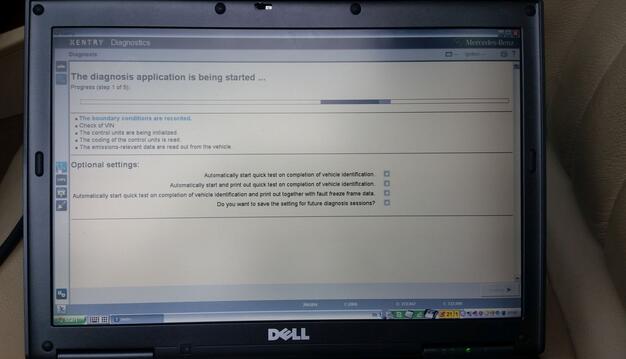
"The diagnosis application is being started…â€
"Initialization of the multiplexer has failedâ€
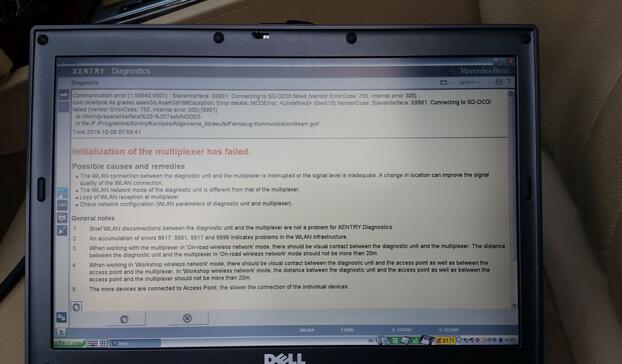
My Mux is not compatible with W204? I searched few hours without success.
Customer solution:
W204 and X204 is the last Mercedes models which working without some special modifications.
You can try:
First try in toolkit.ini delete line skipcomports=all and set line usecomport=2 then you will see in SDconnect toolkit PartD on display after mux connection.
First save your original file for sure.
Try look into C:\Userdata\Config\Xentry\driver – slave.ini and set there com port which you have used for PartD.
Report:
There was no change because I didn’t restarted system. After restart work perfect.
Your solution work perfectly! Probem solved. Everything is working like a charm.
Obd2tool.com solution:
If you need to deal with newer Mercedes models, better go forSD Connect C4 orXentry C5 diagnostic system.
Posted by: obd2tool at
01:12 PM
| No Comments
| Add Comment
Post contains 238 words, total size 3 kb.
May 19, 2019
Look here: What can you do with VVDI Mini Key tool with all functions activated?
VVDI Mini Keytool FULL Authorization: Done!
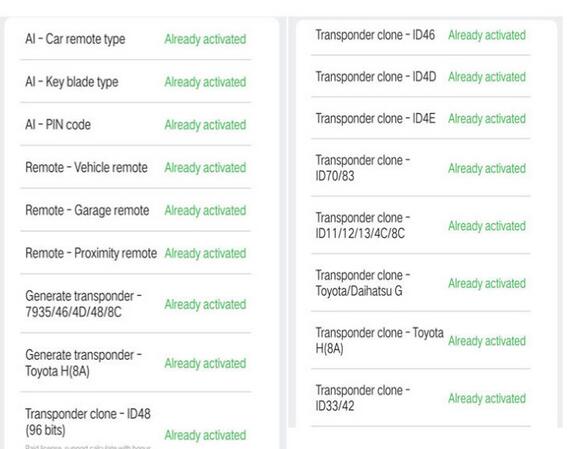
AI – Car remote type Already activated
AI – Key blade type Already activated
AI – PIN code Already activated
Remote – Vehicle remote Already activated
Remote – Garage remote Already activated
Remote -Proximity remote Already activated
Generate transponder – 7935/ 46/ 4D/ 48/ 8C Already activated
Generate transponder -Toyota H (8A) Already activated
Transponder clone – ID48 (96 bits) Already activated
Transponder clone – ID46 Already activated
Transponder clone – ID4D Already activated
Transponder clone – ID4E Already activated
Transponder clone – ID70/ 83 Already activated
Transponder clone – ID11/ 12/ 13/ 4C/ 8C Already activated
Transponder clone – Toyota/ Daihatsu G Already activated
Transponder clone – Toyota H (8A) Already activated
Transponder clone – ID33 /42 Already activated
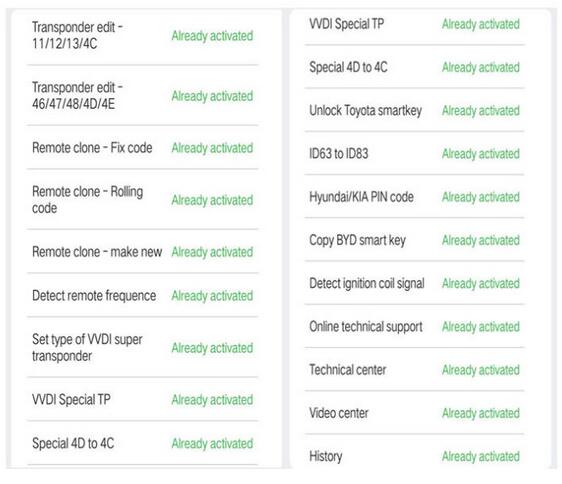
Transponder edit – 11/12/13/4C Already activated
Transponder edit – 46/ 47/ 48/ 4D/ 4E Already activated
Remote clone – Fix code Already activated
Remote clone – Rolling code Already activated
Remote clone – make new Already activated
Detect remote frequence Already activated
Set type of VVDI super transponder Already activated
VVDI Special TP Already activated
Special 4D to 4C Already activated
Unlock Toyota smartkey Already activated
ID63 to ID83 Already activated
Hyundai/ KIA PIN code Already activated
Copy BYD smart key Already activated
Detect ignition coil signal Already activated
Online technical support Already activated
Technical center Already activated
Video center Already activated
History Already activated
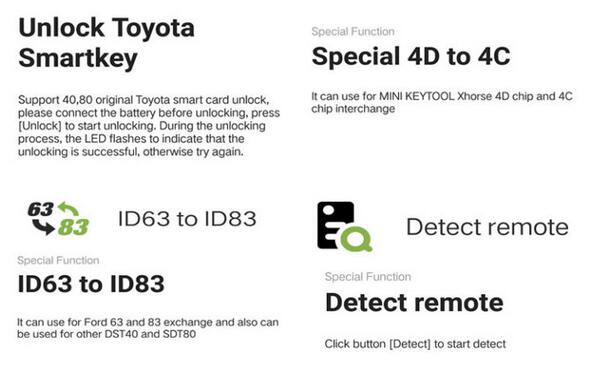
Unlock Toyota smart keys
Unlock Toyota smart keys
ID63 to ID83
Special 4D to 4C
Detect remote
Posted by: obd2tool at
08:40 AM
| No Comments
| Add Comment
Post contains 270 words, total size 4 kb.
May 12, 2019
Here OBD2TOOL share the Free download source of CGDI BMW AT200 Programmer software and full vehicle list,and at end of article list some test video projects on how to use CGDI BMW AT200 read ISN for BMW DME.
What is AT200 Programmer:
AT200 is a BMW ECU programmer and ISN code reader.
Part 1:CGDI BMW AT200 Software Free Download
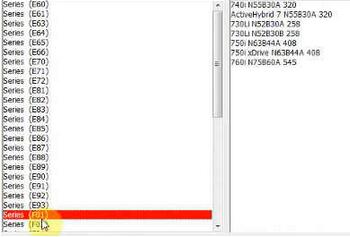
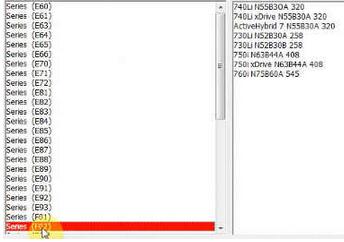
Part 2:CGDI BMW AT200 Car List
Part 3:CGDI BMW AT200 Read ISN VIN for BMW DME MSV90, MSD85, MSD87
Part 1:AT200 Programmer Download Free:
https://mega.nz/#!rQpWXYKT!M1MZOPoqmBu4iCQl2AKVw1TferCBrusrDPHbhR2eZ-E
Version: 05.04.2019
Password: Not required
Security: Tested 100% with AT-200 programmer
AT200-programmer-bmw
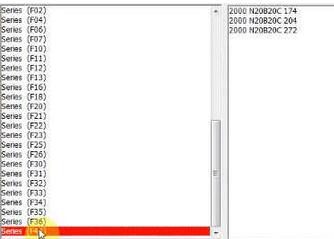
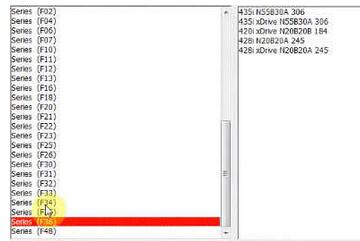
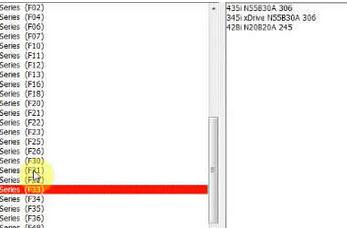
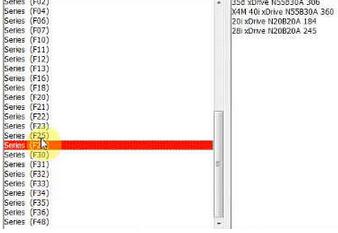
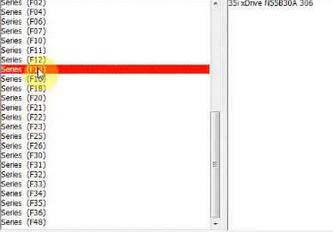
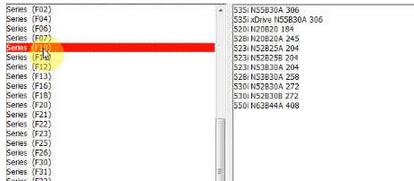
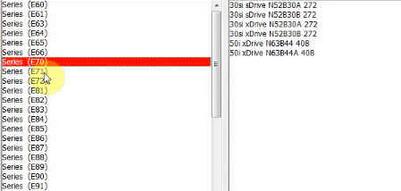
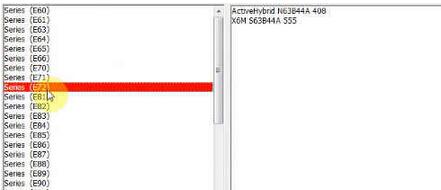
Part 2:AT200 Programmer car list:
Posted by: obd2tool at
09:16 AM
| No Comments
| Add Comment
Post contains 111 words, total size 6 kb.
May 01, 2019
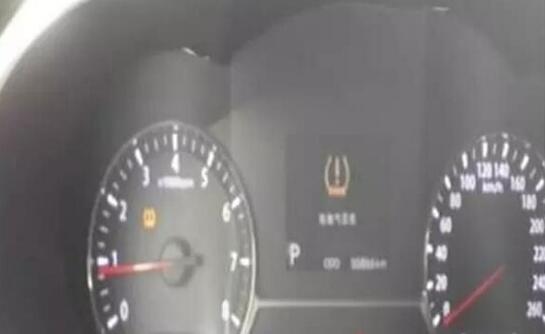
Actual Measurement: Dongfeng KIA 2012,VIN= LJDKAA241C0*****,dashboard as follow:
Device: Launch X431 V/X431 V 8 inch/X431 V+
NOTE:
1. Tire pressure sensor ID consists of 8 letters and numbers, as shown in Figure 2. After the new
sensor is bought back, take a picture and record the ID.
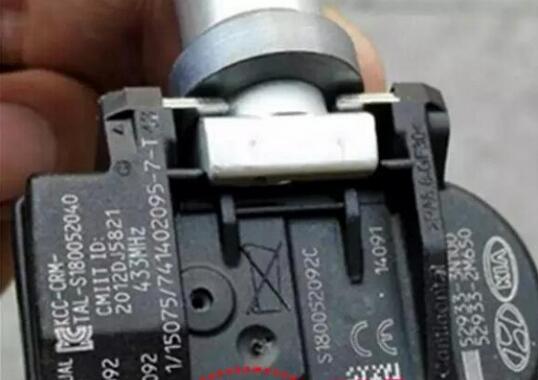
2. In the process of writing the sensor ID, pay particular attention to the one-to-one correspondence
of the tire pressure sensors, left front, left rear, front right, right rear, and four sensor IDs to ensure
that each corresponding write.
3. Before and after the replacement of the tire pressure sensor, the old sensor and the ID of the new
tire pressure sensor replacing its position should be recorded, as well as the tire position;
4. After some models of sensors are written, the tires need to run for a period of time, or the sensor
activation tool is required to activate the sensors, and then the tire pressure sensors can work
normally.
Operation Procedure:
1. Select Dongfeng Yueda V21.20 aboveï¼›
2. Select 16PIN diagnostic socketï¼›
3.Manually select menuï¼›
4. Select K5(TFC);
5. Select 2015ï¼›
6. Select G2.0NuMPI
7. Select TPMSï¼›
8. Select special function item,Shows a list of special features under
TPMS (Tire Pressure Monitoring System), as shown in Figure 3;
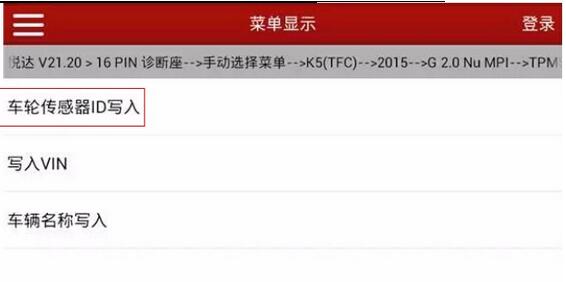
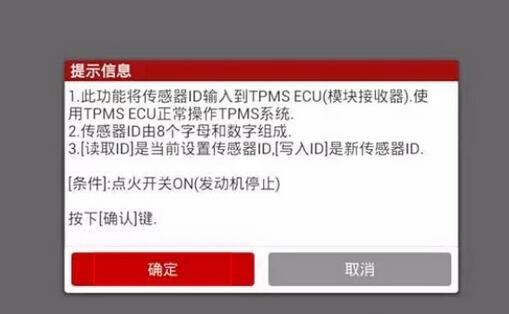
9. Select the wheel sensor ID write, as shown in Figure 4 information;
10. Click OK to read the currently set sensor ID. The keys C1, C2, C3, and C4 correspond to the
input sensor 1, the sensor 2, the sensor 3, and the sensor 4. In the writing process, pay attention to
one-to-one corresponding sensor ID, can not go wrong, as shown in Figure 5;
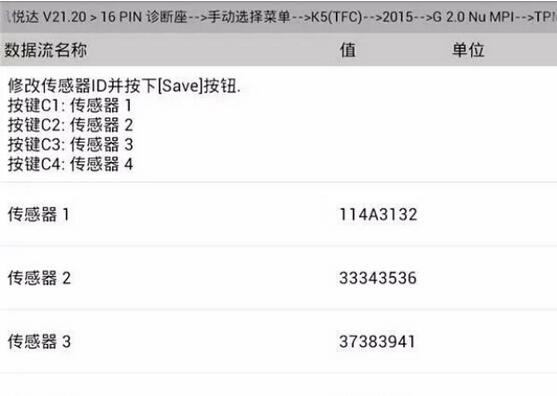
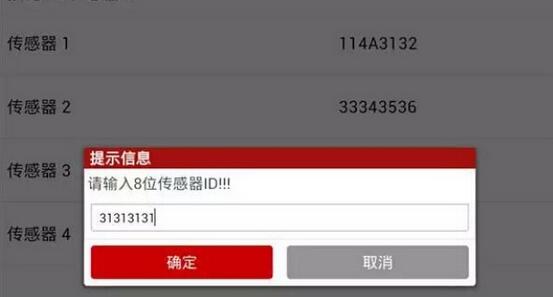
11. Click C1, enter the sensor 1, change the ID of the sensor 1, as shown in Figure 6
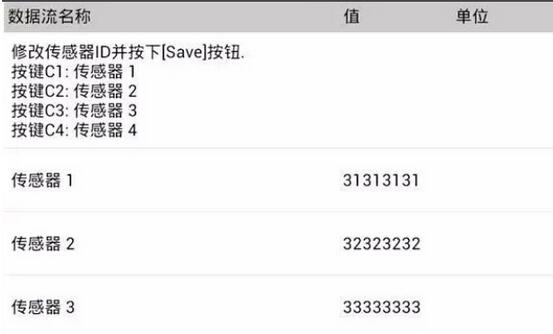
12. Click C2, enter the sensor 2, change the ID of the sensor 2, the same operation to change the ID
of the sensor 3, the sensor 4, after the completion of the four ID modifications, as shown in Figure 7;
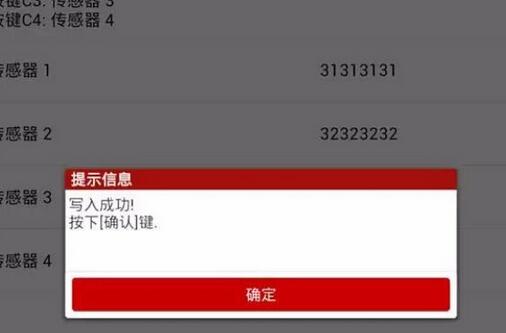
13. Click to confirm and save, four tire pressure sensor ID prompt write success, as shown in Figure
8;
14. Click to confirm, this time will read again the four tire pressure sensor ID, this time is the value
of the sensor ID after writing, as shown in Figure 9;
15. Exit the software and check that the instrument fault light is off. The test run was normal.
Note: Some models may need to run the sensor ID for about 10 minutes after the sensor ID is
written or need sensor activation tool to activate the sensor.
Posted by: obd2tool at
09:49 AM
| No Comments
| Add Comment
Post contains 437 words, total size 6 kb.
32 queries taking 0.0209 seconds, 149 records returned.
Powered by Minx 1.1.6c-pink.


